Step-By-Step -> CREATE MYVKAD
- Home
- MyVKad : TUTORIAL
- Step-By-Step -> CREATE MYVKAD
- -> Registration
- -> Make Payment
- -> Create MyVKad
- -> Add Links | Features
- -> Add Youtube Videos
- -> Add Google Maps
- -> Add Google My Business
- -> Add Payment Method
- -> Add Services
- -> Add Gallery Images
- -> Add Business Hours
- -> Set Up Whatsapp Store
- -> Add Products
- How To -> Delete Images In Media
- How To -> Create QR Code
- How To -> Download | Print Invoice
- How To -> Upgrade Plan
- How To -> Reset Password
- How To -> Change Dashboard Language
- How To -> Edit Account Details
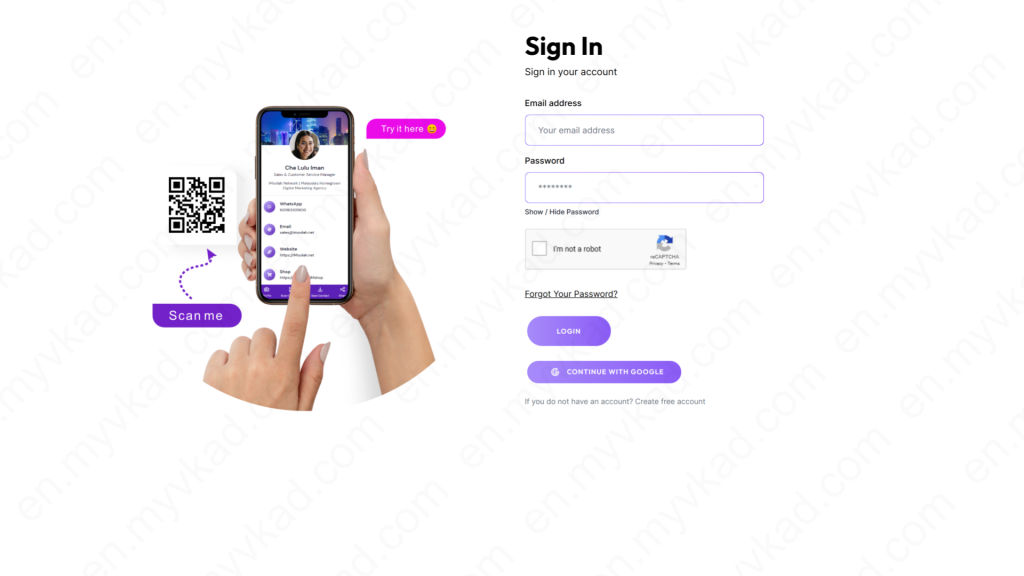
Sign in to your MyVKad Dashboard : –> https://vkad.me/login
*click image to enlarge it*
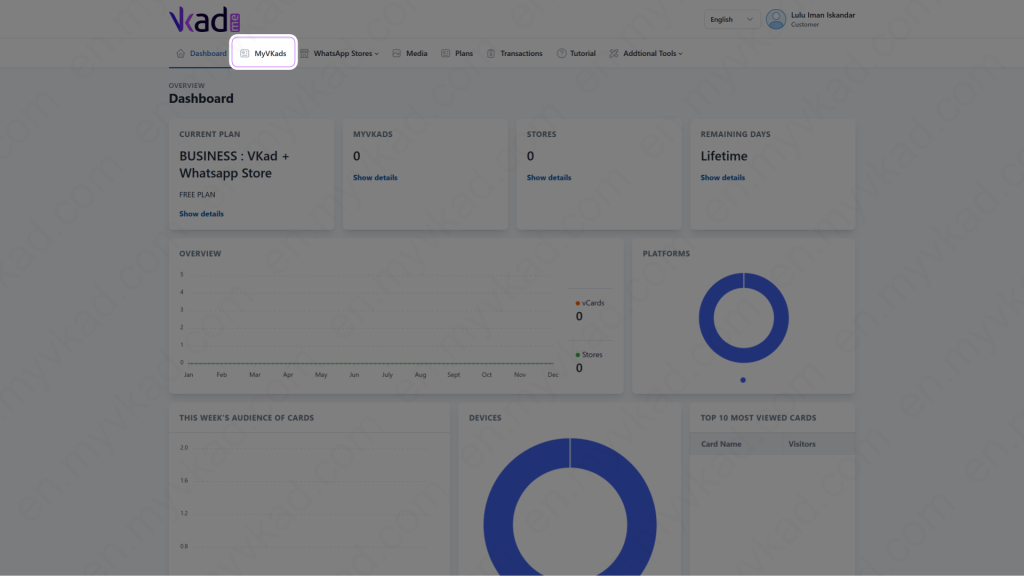
In your dashboard, click ‘MyVKads’.
In your dashboard, click ‘MyVKads’.
*click image to enlarge it*
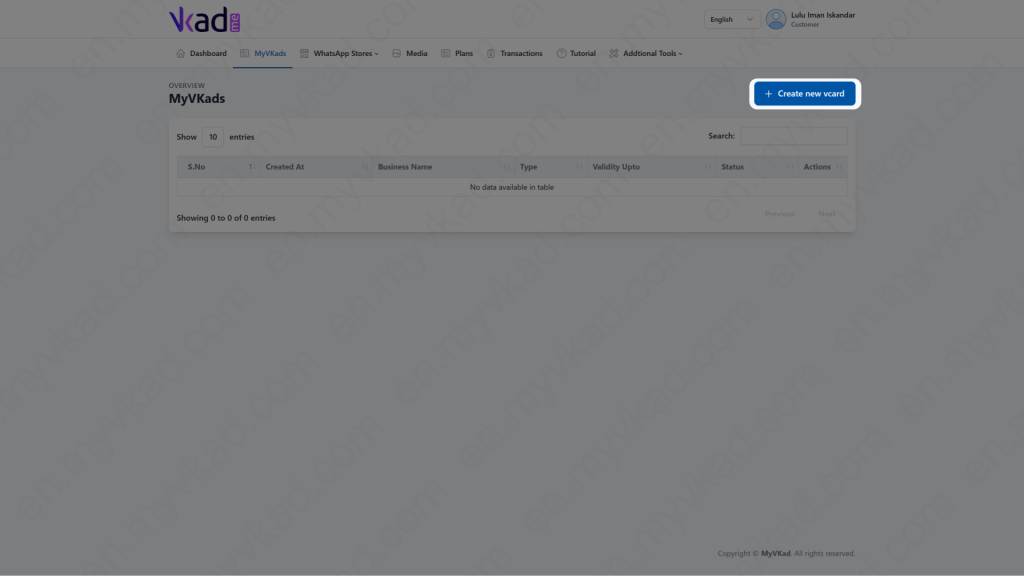
- 1. Click 'Create new vcard'.
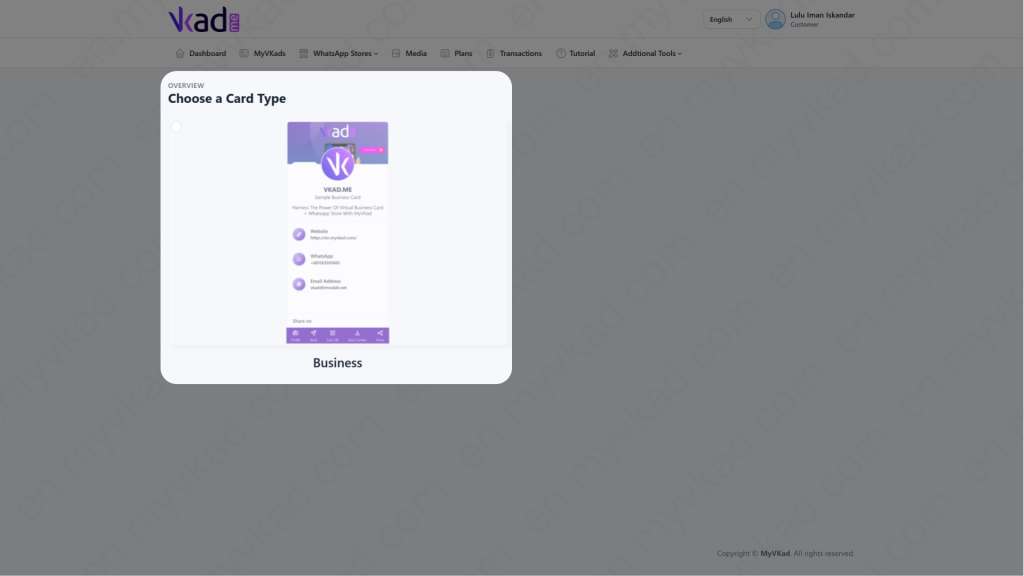
- 1. Click 'Business'.
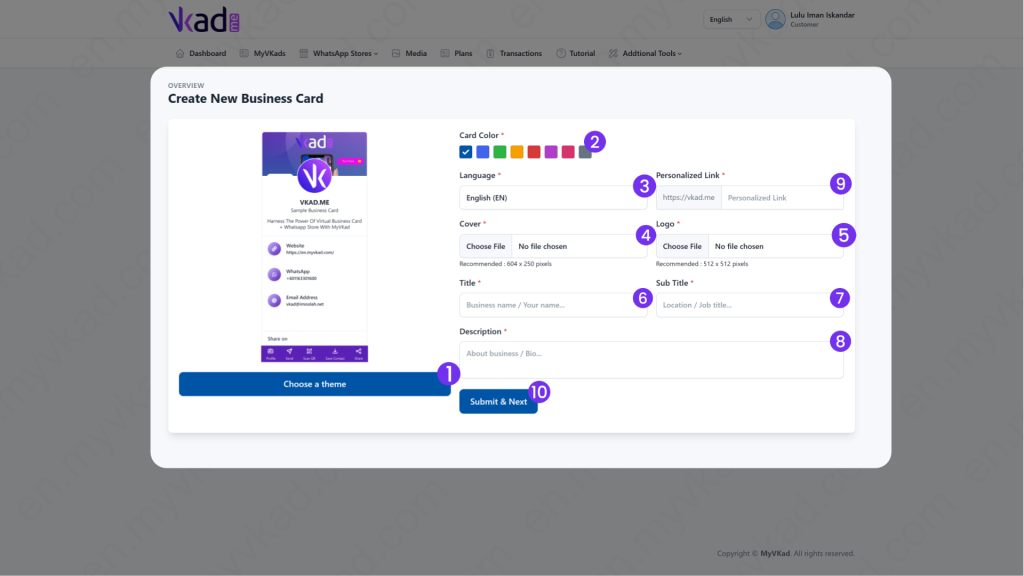
- 1. Choose your preferred VKad version: Light OR Dark.
- 2. Choose your preferred VKad colour.
- 3. Choose your preferred VKad language.
- 4. Upload your VKad cover image. This is the background image on top of your VKad.
- 5. Upload your VKad logo. This could be your Company's logo or your self-potrait.
*click image to enlarge it*
Click this link to learn about how to upload image, the sizes and image-problem solutions. (This link opens in a new window, so you won’t leave this page.)
- 6. You can put your name or your brand.
- 7. You can put your job position or a short info about your brand.
- 8. A description about you or your Company or your brand.
- 9. Choose your personalised Username.
- 10. When you are done, click 'Submit & Next'.
*IMPORTANT: If you made a mistake uploading images (due to the wrong size etc) after you click ‘Submit’, all the details you just filled in WILL BE LOST. So it is recommended for you to copy them in a Notepad or paper beforehand to avoid the meticulous re-typing again.*


